I took up hunting in the mid-90s. While I had some initial success, enough to
lock-in my interest in the sport, I went many seasons after that with sporadic
success, or no game brought home. Well, that’s hunting, right?
But in the last couple of years, success has come more regularly. It seems
like the critters know that I’ve paid my dues in the hunting fields for enough
years now, that they are honored to come and stand in front of my gun barrel!
I’ve taken two decent bucks in the last two years, and now I’ve taken my first
bull elk. You’ll always hear true hunters tell you, that the real trophies are
not the heads on the wall, but the memories of days spent in the field.
For that reason, those hunts that I seemingly came home empty handed, I really
didn’t. Those empty-handed hunts don’t make for the best newsletter stories,
but I have wonderful photo sets for all of them of good times with my sons as
they grew up.
And for the hunts that we did come home with game, writing up the story for
this newsletter helps to cement the memories like nothing else. So I really
appreciate having this forum to share those stories with you, and for allowing
me to be able to relive those experiences time and again whenever I want to.
But like most hunters, I do like to have tangible trophies from those
successful hunts that I can hang on my wall. I don’t mount my javelina heads.
For those I am content with the “trophy” photos. Neither do I mount my cow
elk heads. When was the last time you saw a cow elk head on anyone’s wall?
Nor do I mount the heads of the bucks I have taken. But I do mount the antlers.
There are several reasons that I don’t mount the heads. First, you have to
be a lot more careful to preserve the cape at the time you are processing the
kill in the field. Second, I just don’t want furry heads hanging on the wall
in my home. Third, a professional head mount costs a lot of money that I
would rather spend on a new gun or other things.
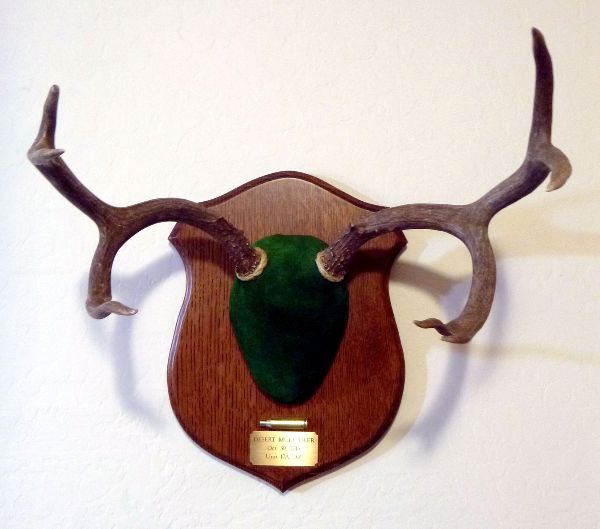
For my first three bucks, I bought inexpensive, ready-to-go antler mounting
kits such as you find in the local sporting goods stores, like the Allen
antler mounting kit.
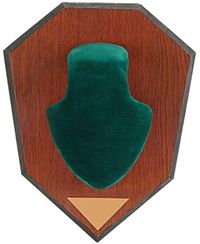
This kit consists of a pressboard mounting plaque with a wood-grain lamination
on the front. The instructions tell you how to cut the antlers off the skull,
leaving a small section connecting the antlers. I epoxied a piece of wood cut
and shaped to size, underneath the skull portion to give the skull section some
support.
Then the antlers with skull section is screwed down onto the plaque, and the
kit’s skull cap is placed over that and held in place using upholstery tacks
and small brads (tiny flat head nails). The kit’s skull cap is made of
styrofoam with the green velvet cloth glued on. The green velvet is a bit
loose around where the antlers come out, so that the velvet can be pulled
around the base of the antlers before being affixed to the plaque with brads.
This leaves the area around the antlers a bit wrinkly looking.
The Allen kit comes with a triangular brass plaque at the bottom for recording
details about the trophy. Using a Dremel tool with an engraving bit, I would
record the species, the date of kill, and the hunt unit where the animal was
taken. Because this is done by hand, it ends up being a little irregular
looking, like handwriting.
I would also save one of the cartridges that the critter was shot with and mount
it above the brass plaque. I would polish up the cartridge, then hit it with
gloss clear urethane spray to preserve the shine. I would mount it to the plaque
using .020” diameter safety wire.
These home-brew antler mounts were just fine for my first three sets of small
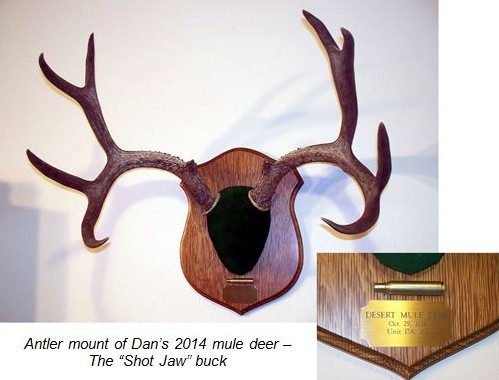
antlers. However when I took that nice 4x4 mule deer in 2014, I knew that
those antlers deserved a better mounting job than a cheap DIY kit.
My first thought was to have the antlers professionally mounted by a taxidermist.
I got some quotes and the cost was in the $150 to $200 range. But I wanted it
to look essentially like my other three mounts – green velvet skull cap, engraved
brass plaque, cartridge mounted on the plaque – but professionally executed. I
wanted that continuity of style so that it would look right hanging next to my
other antlers.
There is one over-riding reason that I am a dedicated do-it-yourself-er: If
something is important that it be done exactly right, there is no other way to
get that, but to do it yourself. I’ve learned that lesson over and over. No
one else that you hire has your vision, or will take the care that you will to
do the job exactly how you want it done. When hiring someone to do a job for
you, you must be willing to accept a less than perfect job. That’s just how it
is.
So that is why I decided again to do it myself, but this time to start with a
professional quality taxidermy kit. This kit I purchased from an outfit named
Whiskey Legends
(https://www.whiskeylegends.com/). The kit I chose is the Classic Deer kit.
From the description on their website, this kit includes:
- An independent antler form - The antlers are mounted to the form, and then
the form is attached to the plaque. This is the proper way to mount antlers.
- Genuine Leather - Highest quality antler mount form cover available.
- Maché - Creates a finished look between the antlers and form.
- Batting - Helps cover up any imperfections for a smooth leather finish.
- Finishing Rope - Creates a finished look between the leather and antler bases.
- Screws - Attaches the antler base plate to the form, and the form to the plaque.
- Step-By-Step Instructions - Contains photographs, to guide you through the
mounting process.
- Solid Wood Plaque - No fiber board, no laminates, no fake wood stickers, no
painted edges- we use hand selected ¾ inch wood and each plaque has a flush, wall
mount hanger.
The rest of this article will essentially be a descriptive photo essay of the process
of mounting the antlers from my 2015 mule deer buck. Those horns were a bit smaller
than the 2014 buck, but I documented this mounting job with lots of pictures.
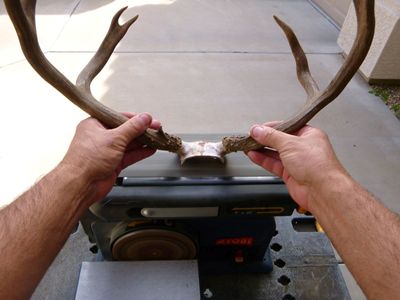
After letting the antlers dry for a couple of weeks, to prepare the antlers for
mounting onto the antler form, I made sure that the skull section was even by
final-shaping them on a benchtop belt sander.
The antler form, also known as a manikin, is a hard foam form with a
piece of plywood embedded on the flat bottom side. The area where the antlers
mount is a flattened cut-away section. It is important to shape the skull bone
to sit in this pocket of the manikin so that the antlers will mount to the form
with a naturally projecting angle. The manikin of course, is meant to represent
the top of the deer’s head.
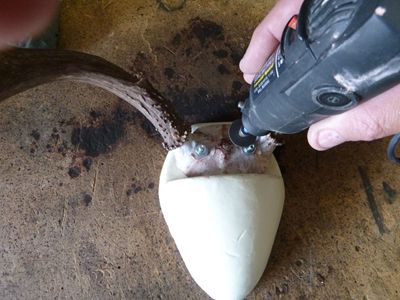
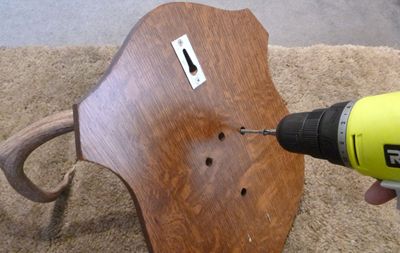
The Whiskey Legends kit came with drywall-type screws for attaching the skull
plate to the antler form. But I screwed up. You need to drill a couple of
holes in the skull plate so that the threads of the screws won’t cut into the
bone. But absentmindedly I drilled those holes all the way through the plywood
in the bottom of the form. So when I went to screw those screws into the antler
form, the screw threads had nothing to bite into. Oh well. I substituted
countersinking machine screws from the bottom, holding the skull plate to the
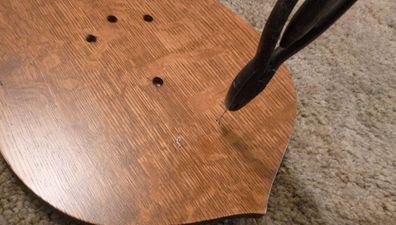
form with nuts. The photo above shows me cutting off the excess screw length
with the Dremel cut-off wheel.
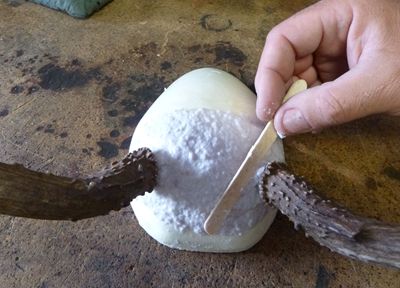
After the antlers are mounted to the form, the next job is to mix up the paper
maché and use it to fill-in the area around the skull plate and shape it to match
the contour of the rest of the antler form. After this, you need to let it dry
completely for several days.
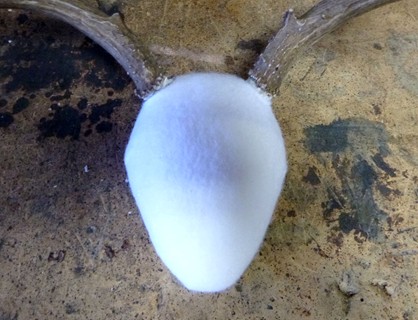
After the maché dried, I lightly sanded it to remove the worst of the lumpiness,
but because the next step is to apply batting material, sanding is not really
required. The batting helps to hide any imperfections of the transition between
the maché and the foam of the antler form.
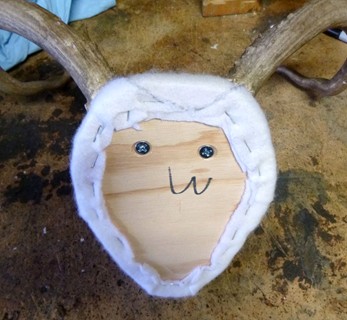
The batting is stretched over the top of the form and secured on the bottom with
a staple gun.
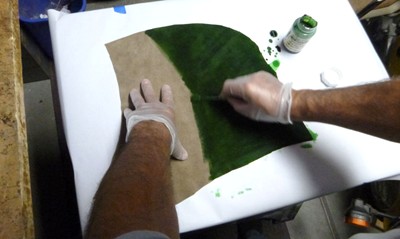
Whiskey Legends includes a piece of leather to use to cover the antler form. You
can use either the smooth or the rough side out. Since I wanted it to have the
green velvet look of my other antler mounts, I applied green leather dye to the
rough side of the leather piece.
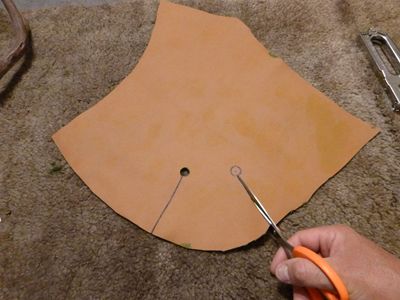
After allowing the leather dye to thoroughly dry, it was time to install the
leather cover onto the antler form. To start, you need to measure the
center-to-center distance between the antler bases on the form and cut two holes
in the leather plus two straight cuts at approximately 45° degree angles to the
holes.
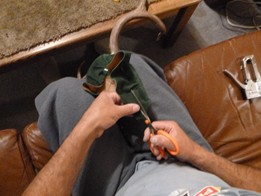
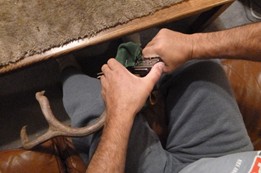
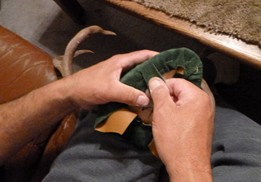
Alright, this is where it starts to get a little tough. There will be a lot of do,
then undo, then re-do. You want to get the leather stapled down all the way around
the bottom of the antler form with no wrinkles visible from the top and sides. You
will have a lot of excess material that you will eventually trim away as you work
your way to the goal of no visible wrinkles. Many staples that you put in at the
start will be pulled out later only to be replaced after cutting-in so-called
“darts”, or wedge shaped cuts in the material.
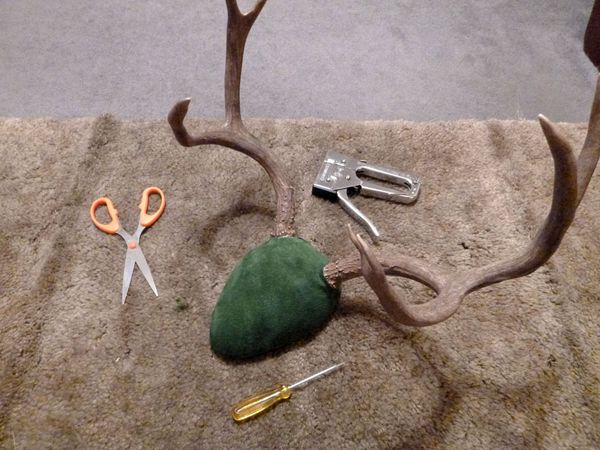
After enough pulling, stretching, struggling, and reworking, you will get to:
Voila! A major milestone!
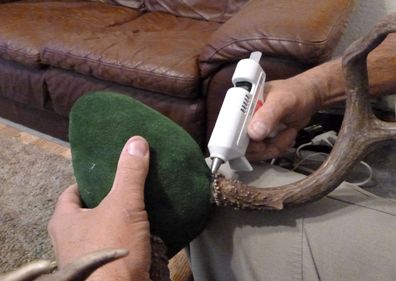
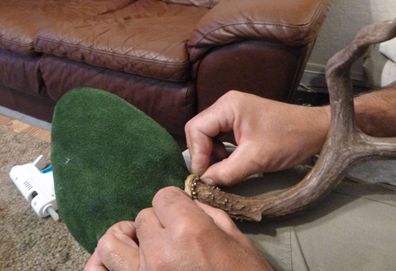
To cover up the edge of the leather at the bases of the antlers, the next step
is to install a rope border under the flare at the base of each antler. This
gives it a nice finished look. I cut a piece of rope (included with the kit) to
the correct length for each antler. Using my wife’s hot glue gun, I laid down a
bead under the antler flare, and pressed the rope into place. The joint where the
two ends of the rope come together is placed at the back.
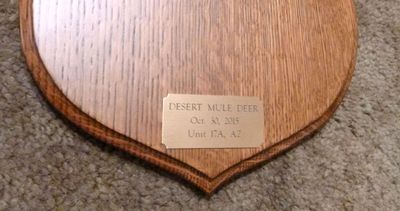
Now it’s time to turn our attention to the wood plaque. Rather than amateurishly
engraving a brass plate by hand, I ordered a brass plate professionally engraved
with the information for this buck. It has sticky-tape on the back so all that
was needed was to peel off the backing and press it into place:
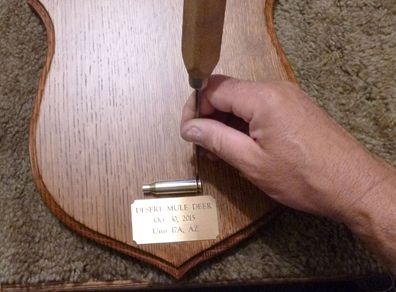
Next is to install my cartridge case. As described earlier, I polished it up,
then sprayed it with clear urethane. I positioned it where I wanted, and using
an ice pick, I marked where the safety wire holes needed to be. Then I drilled
the holes all the way through the thickness of the wood. Safety-wiring is a
skill I learned in the Air Force.
Finally, the last step is to secure the antler form to the plaque. This can be a
little tricky because the screws are attached from the back, but you need to check
from the front that the antler form is positioned correctly.
So there you have it. From raw antlers to finished mount. Now that I’ve done this
a couple of times, I can now buy just the constituent parts that I need from a
taxidermy supply house like McKenzie or Van Dyke's (actually, I think both of those
places have the same owners). A good source for the wood plaques is
Walnut Creek Hardwood.
Buying just the parts that I needed was exactly what I did when it came time to
mount my elk antlers. Doing it this way may or may not be a savings over buying a
complete kit. Either way, the real savings comes from doing it yourself, not
having to pay for someone else’s labor and expertise. When I do it myself, it
still doesn’t come out perfect. There are small flaws here and there. But those
flaws are a lot easier to live with when they are your own. It’s tougher to
swallow someone else’s imperfections when you have paid good money for the job.

![]()
