I was about 10 years old and living in Northeastern Arizona
when I got my first rifle. It was a Remington Model 514 – a youth model
.22 Long Rifle Bolt Action with iron sights.
Simple and lightweight, the 514 tips the scales at a very light 4-1/4 lbs.
Gerhard – this is a light rifle!!! As soon as I opened the box and admired
it and acknowledged the words necessary to remind me of the responsibility
that came with handling, safe operation and cleaning it, I was immediately
ready to head for the range to try it out.
After a session of sighting in I was soon punching holes in paper on my own.
This was great because then I could “participate” in trips to the range,
shooting on my own target while the adults shot their BIG GUNS, which quite
often were M1 Garands they were practicing with to take to Phoenix to compete
in what was then called the Washington Birthday Matches. Shooting and checking
my own target was much more fun than watching everyone else shoot and then
walking 100 or 200 yards to see their targets.
It was immediately apparent that the 514 was accurate with just about any .22
ammo that I could stuff into it. I still remember from loading the rifle that
the chamber was pretty tight, which probably contributed to the accuracy.
Even with a single shot bolt action, it didn’t take long to develop the
ability to go through whatever ammo was available in a short time. I remember
getting a particularly long lecture about the price of ammunition after going
through 4 or 5 boxes of high velocity .22s. After that, I was more careful
about shooting slower and trying to make every shot count, preferably with the
less expensive low velocity stuff.
After serving its purpose well, the little rifle was set aside as I became
more interested in pistols and centerfire rifles. Thirty years later I was
shooting a .22 rifle silhouette match with a very heavy Winchester 52D, with
my left arm feeling like I’d been lifting bags of cement. The little Remington
514 came to mind – what if it was set up with a scope? It might work well for
the silhouette event although, it’d be at the other weight extreme.
I still knew exactly where it was and dug it out of the closet on the next trip
home to visit the folks. However, I found that it wasn’t drilled and tapped
for scope mounts. A trip to the range confirmed that the accuracy was still
there, but I couldn’t bring myself to drill holes in it, so the search was on
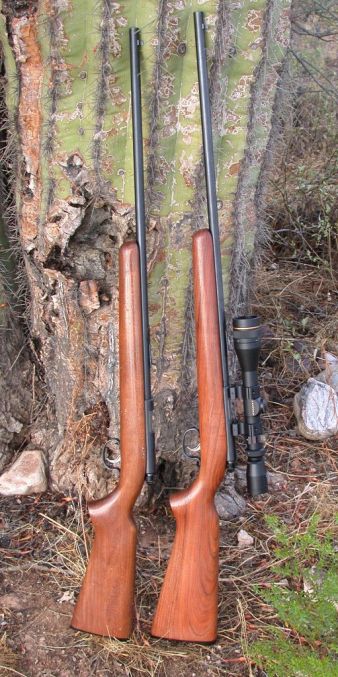
for another 514.
After looking for over a year with no success, I was about to give up. During
one of my regular weekly trips to one of my favorite local gunshops, the usual
reconnaissance was done to see if anything of interest had arrived since the
last visit. This time it didn’t look like it. As I was headed out the door,
I asked if there was anything interesting that I had missed. The owner pointed
to a couple of guns in a gun rack off to the side by themselves.
At first they didn’t look promising, but I decided I’d better handle each one
just to be sure. The last one I picked up was a very well preserved 514 that
had been shot very little and had an immaculate bore. No question that this
one was going home with me, although I had to try hard not to look too excited
before the deal was made. The price was agreed upon and soon I was headed home
to give the new addition a thorough cleaning and checkout.
Another trip to the range showed that this rifle was identical to the original
in feel, accuracy and function, right down to the tight chamber, the way it felt
loading it was the same. Back at home, a few clicks on the computer had a couple
of taps, some scope mounts, rings and a Leupold 3-9x rimfire scope on their way.
Since this would be my first drill and tap job on a firearm, I’d have to be extra
careful not to make any errors.
First a note of caution – before trying this type of operation, you should be
familiar with safe machine operation and familiar with the firearm you are working
on. Irreparable damage or an unsafe firearm can result from improper hole
placement. If in doubt, get a qualified gunsmith to do the job for you or at the
very least, to check your work.
The 514 is a model of simplicity & disassembles with the removal of a single screw.
Since the receiver is round and there are no flats to indicate level, I drove the
front sight out of its dovetail and used the dovetail bottom to indicate level.
This was verified by removing the rear sight and inserting a tight fitting brass
rod into the rear sight screw holes to make sure they were vertical. Next, the
hole spacing was calculated to make sure that the screws would match the ring bases.
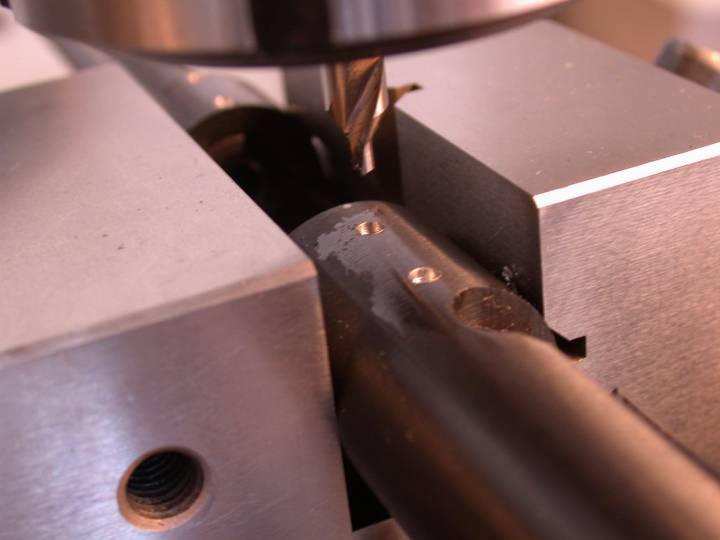
After checking the squareness of the vise and verifying the layout marks with a
dry run of the mill, it was time to start drilling. Pilot holes were drilled
followed by a second drill which was the next size smaller than the final diameter
required for the thread to be used. If a large increase in diameter is made on
the final drill, the hole will tend to be oversize, which makes the threads weaker.
The front holes are drilled no deeper than necessary for the front screws, since
this is in the area around the chamber which takes the most pressure. The rear
holes were drilled all the way through the top of the receiver.
It is important that the threads are aligned with the drilled holes for maximum
strength and to make sure that the screws do not force the scope mount to be out
of alignment with, or not secure on the action. To be certain the threads are
aligned, the tap is inserted into the mill drill chuck and the mill table is moved
to the same position used to drill the hole.
The first few threads are started by feeding the tap gently downward and twisting
it by hand. Once the tap is started, the drill chuck is removed from around the
tap and raised out of the way. Tapping is finished carefully by hand.
Lots of threading oil is used to keep the threads smooth and the threads are
cleaned often and fresh oil added to keep the chips from scratching the threads
as they are cut. The entrance to each hole is cleaned up with a countersink –
just enough material is removed to make sure no burrs extend above the top of
the receiver, so they cannot interfere with the clamping action between the
mount and receiver. Threads are flushed thoroughly with clean solvent prior to
testing them with the screws.
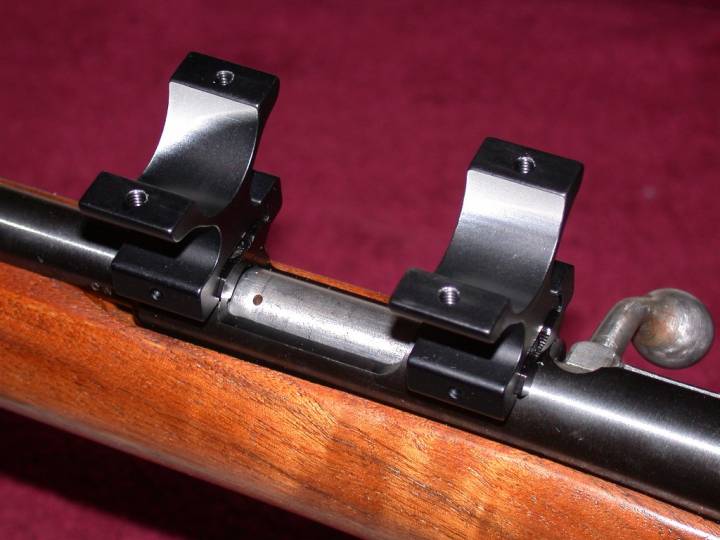
Finally, the moment of truth!!! The mounts were installed along with the rings.
A check was made to verify that the front screws were not bottoming in their
holes and that the rear screws would not extend through the top of the receiver
and hit the bolt.
A set of ring alignment gages are used to check the alignment of the rings.
This will tell you if there will be stress on the scope and the receiver when
it is mounted. It is desired to have perfect alignment of the rings so that
there is no bending stress on the scope. I found severe misalignment on several
of the rifles that I have re-scoped. A scope tube that is flexed will put more
stress on the scope’s delicate internal adjustments and may even cause some
sticking and erratic adjustments which can move when you least want it to. Now
I always check before mounting any scope.
The gages showed that there was around .005” of misalignment. This isn’t too
bad and it would almost certainly work ok, but since this was my first drill &
tap job, I figured I might as well go all the way. The alignment gages also
come with a lapping tool and lapping compound. The rings are aligned by
removing a small amount of ring material, using lapping compound and a straight
round bar the same diameter as a scope. This is similar to align boring, and
when you’re done, you know that the rings will be in perfect alignment with
each other.
As the lapping is done, you can see a pattern forming as the misalignment is
removed from the rings. In this case, alignment is achieved when all of the
black anodizing is removed from the aluminum in the area that contacts the
scope.
When mounting a scope into rings that are aligned, the screws tighten quickly,
since there is very little preload on them that would go into bending the scope
into place.
All of the lapping compound was removed – I made sure to get some of the
splatters of the abrasive stuff out from inside the receiver – next time I
will mask any areas I don’t want the compound to end up in. This will greatly
reduce the cleanup time.
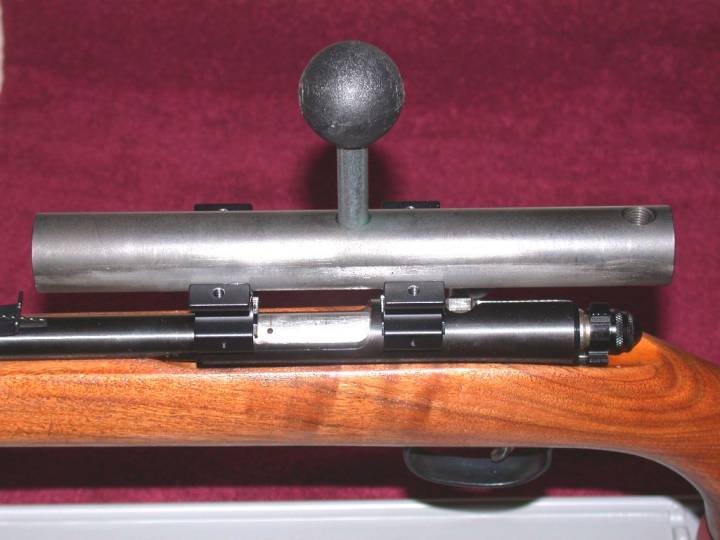
The scope was mounted, the original iron sights reinstalled and a trip to the
range verified that the accuracy was good enough for the upcoming .22 Rifle
Silhouette match.
The match went well, and although I didn’t quite hold up my end of the task,
the little 514 performed. Every shot went where it was pointed. I used the
514 for the first round and my Ruger 10/22 with Volquartsen barrel & trigger
and Leupold 6.5-20x scope for the second round. I scored 15 with the 514 and
the 16 with the highly modified 10/22 costing about 10 times as much (don’t
tell my wife).
Although the trigger has a lot of travel and will never be what you call crisp,
it has the advantage of forcing the shooter to use smooth trigger control.
The single shot action forces the shooter to rest between shots, which also helps.
Bottom line, this was a fun, relatively inexpensive (I told my wife about that
part) and challenging project that resulted in a rifle that will be used for many
years to come. Although the accuracy is more than adequate for my level of
offhand silhouette shooting, I have a couple of ideas to improve things for even
better results from the bench.
|
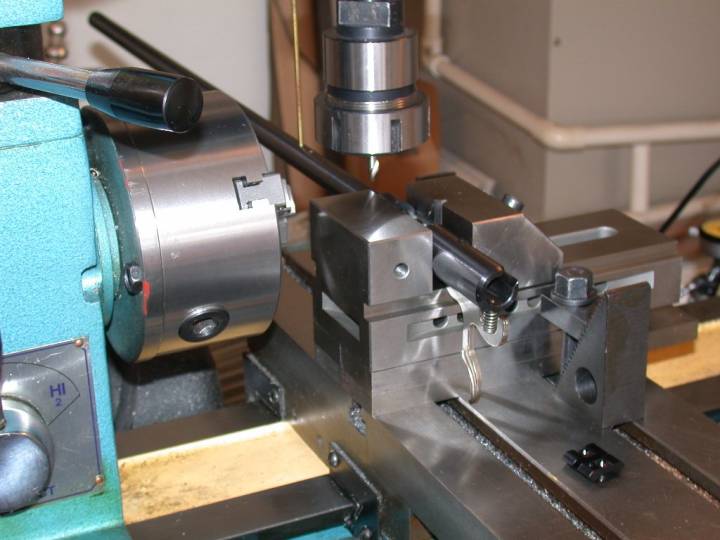
Setting up for drilling - Vertical brass rod in barrel behind mill head is to
verify level orientation
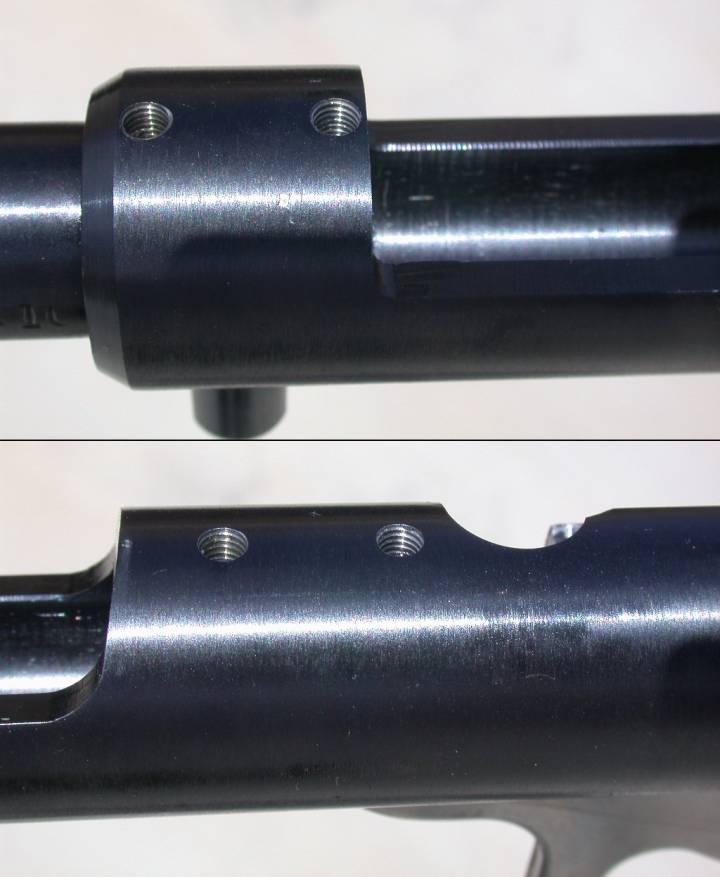
Closeups - Front and rear of receiver after tapping
Lapping scope rings with grinding compound
|
Drilling pilot holes with center drill - This type of drill is rigid and will not
wander like standard twist drills
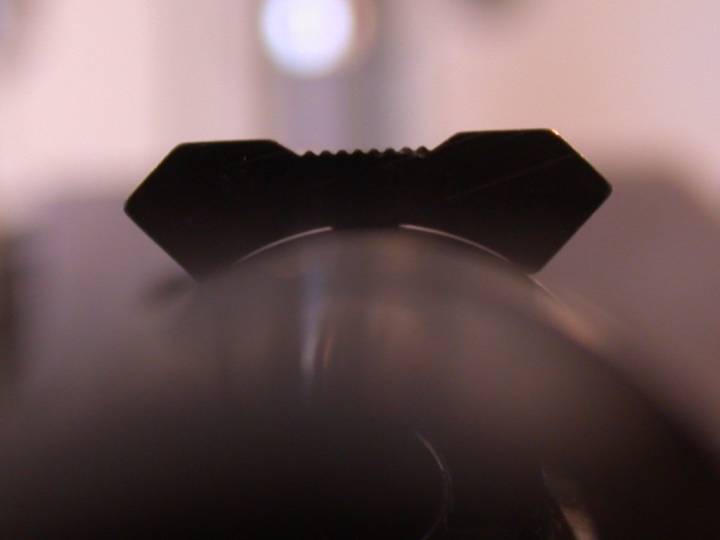
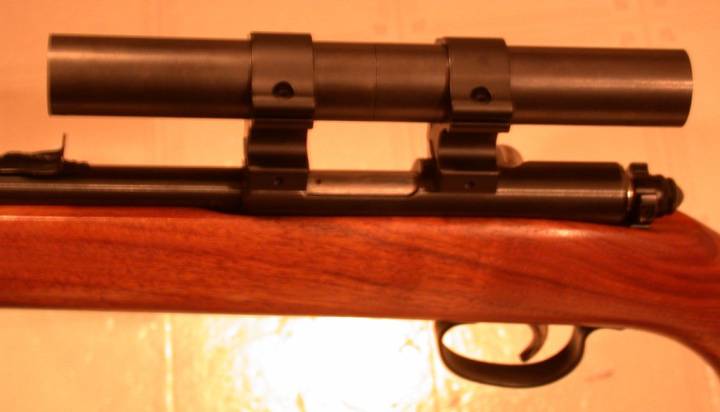
Closeup of scope mount end view prior to tightening screws - this will help keep mount
in position & won't allow it to twist
Lapping pattern (light color) on front ring indicates misalignment
|
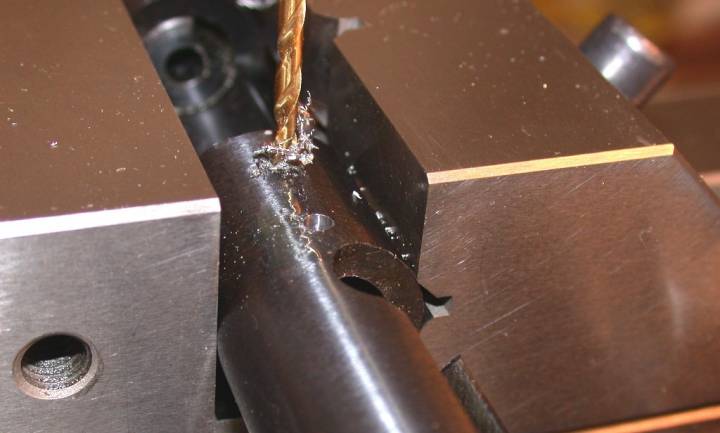
Final drill prior to tapping
Scope ring alignment gages
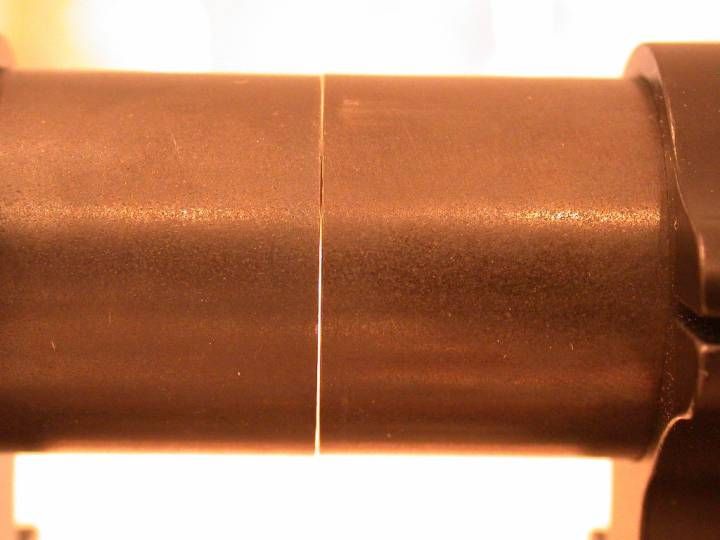
Closeup showing larger gap at bottom and right side is slightly higher than left prior
to lapping
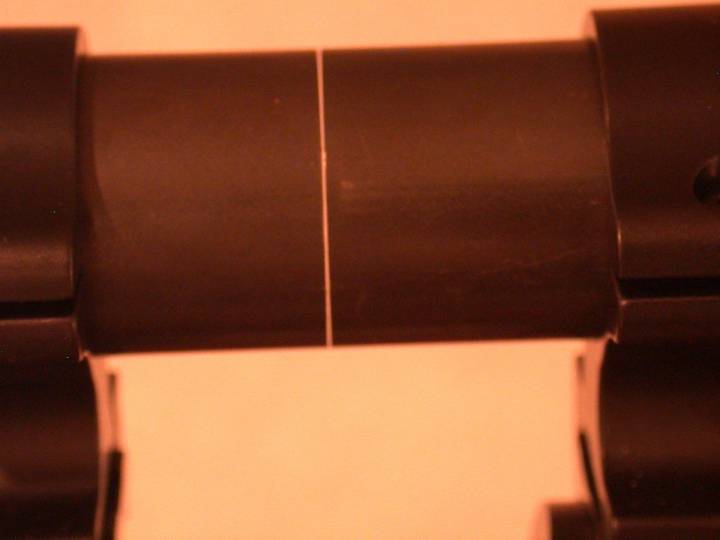
Post lapping closeup of alignment gages shows uniform gap
|
|
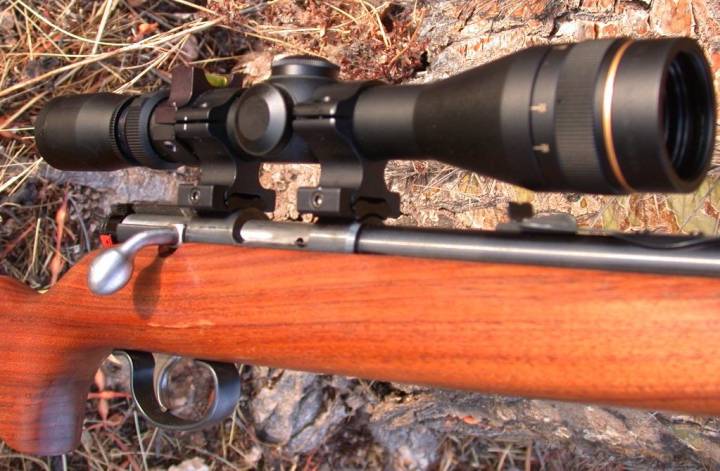
Scope mounted and ready to go
|